Blog #199 3/14/17
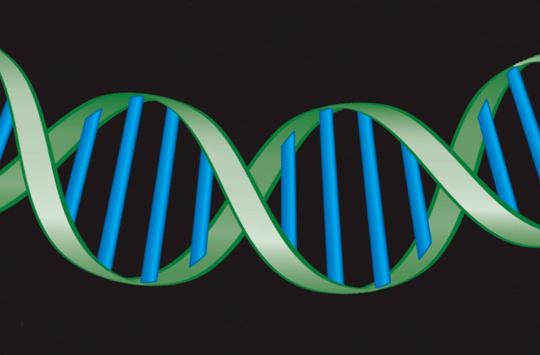
The challenge: How to create and make a photograph of the DNA double helix using dancers?
This Blog describes an adventure of discovery, problem solving and tenacity. My idea was to re-create the double helix that is the form of the DNA molecule, with the substantial help of three remarkable dancers. I worked on this challenge, in between dozens of other projects, for an entire year.
Why did I want to replicate the DNA molecule photographically? Partly to challenge myself, and mostly because since early in my medical career I have been fascinated by the sheer, essential power of the double helix, and its particular beauty. A single DNA Molecule can reproduce itself through a process called replication. The biochemistry of DNA ensures that genetic information is passed reliably from cell to cell, and from generation to generation – the basis for all life!
The story: To solve this kind of daunting problem, I begin with a series of questions that usually begets many more questions along the way.
In this case, the first question was: What is a DNA molecule? Here’s a diagram, and an explanation:

Note: the base pairs (nucleotides) are joined, loosely, by H-bonds (hydrogen bonds). This structure significantly informed what the dancers needed to do with one of their arms to accurately add to the form of the DNA structure.
If not scientifically inclined or interested, skip this following (in Italics) section:
The DNA molecule is a double helix in shape, and each helix is a polynucleotide, i.e. a polymer consisting of a number of nucleotides in a row, coiled up to give this shape.
The outside edges of each helix consist of alternating deoxyribose and phosphate groups, held together by strong phosphodiester bonds.
The middle part of the double helix consists of pairs of nitrogenous bases – adenine + thymine, or cytosine + guanine, clinging together by much weaker hydrogen bonds. These pairs are called complementary, as their molecules are shaped to fit together, and the hydrogen bonding relies on this closeness of fit.
The two polynucleotide strands run in opposite directions. This is called antiparallel.
The complexity of life’s building block is fascinating: don’t worry, this will not be on the final.
The photographic problem for me was the twisting shape and three dimensionality of the DNA molecule.
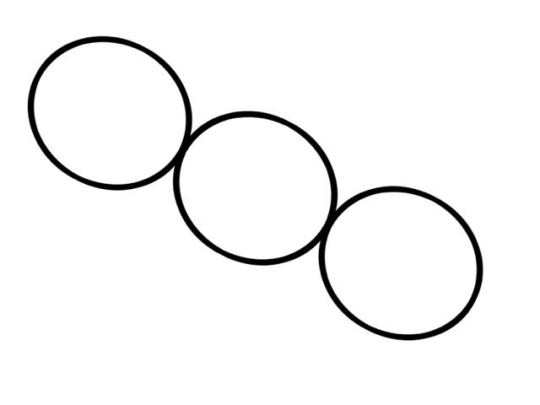
It’s one thing to make circles or ovals, which I’ve done with dancers on a few occasions.
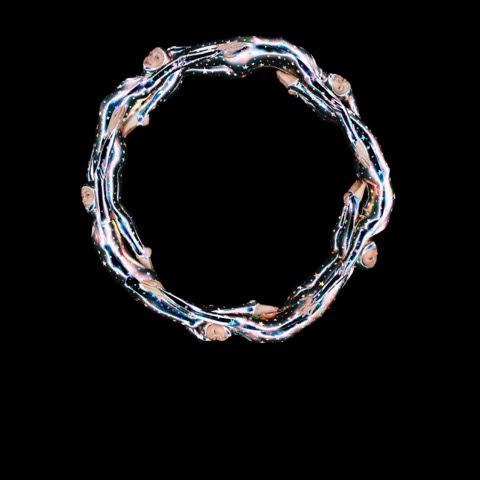
A capital “O” with 5 dancers.
Other “fonts” (O’s):
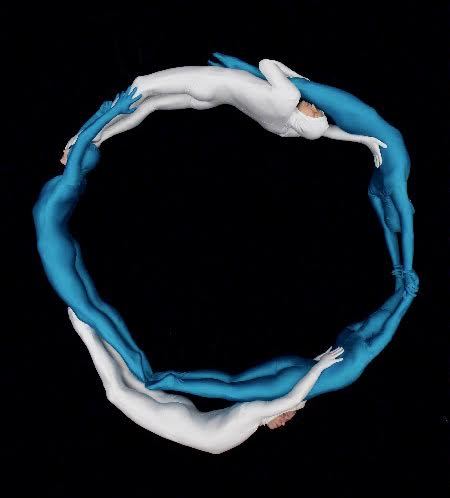
“O” Cirque du Soleil
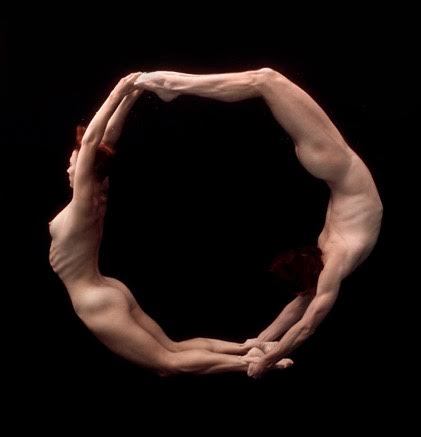
“O” Underwater
These images are essentially two dimensional and therefore do not illustrate the three dimensionality of the DNA Molecule. The Double helix rotates on all three major planes:
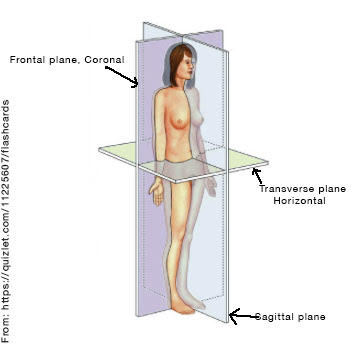
Horizontal (Transverse), Sagittal, and Frontal (Coronal)
All three of these planes would be bent in a body that partially forms DNA.
If I had decided to use hundreds of bodies to form around a helix I would not have to be concerned about any individual dancer attempting to form her body on any plane. It would be rather easy to just place the tiny parts along the twisting, bending and rotating band.
But I wanted to use only a few dancers at most and this required that each of them would have to twist, rotate and bend her body along all three planes.
Next question: How to do it?
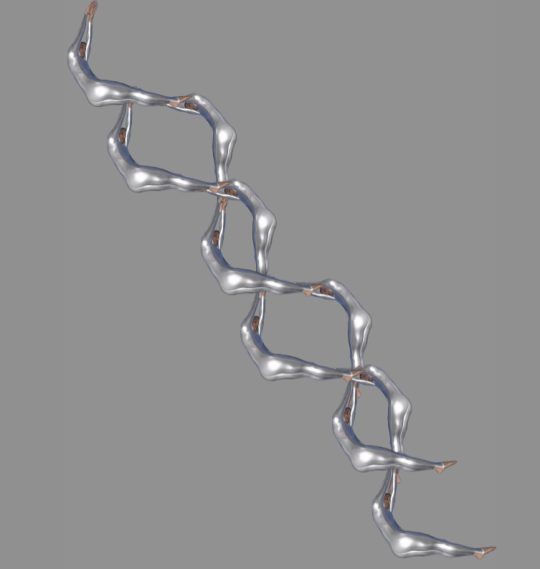
This was my first exploration and it was clear that this did not work. The Double Helix has depth as defined by the distortions along the three planes; this image has no depth and is lacking in other ways.
Back to the “drawing” board.
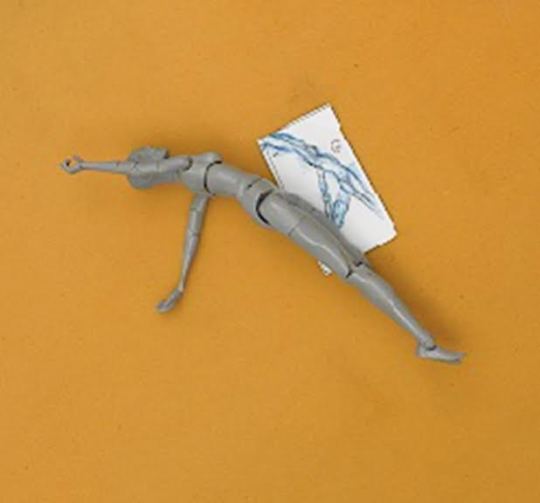
Whenever I am attempting to see what a body can do under extreme direction, I pull out my trusted plastic dolls.

I turned, twisted, bent, rotated and distorted this doll to achieve, in my mind’s eye, what I thought a dancer would need to do to form herself into a DNA segment. Note that I also used one arm (the left) to represent a nucleotide which eventually would join the arm of another dancer to form an “H-bond.”
I then called an artist friend, Michael Ricca, and asked him to draw the DNA double helix under my direction. I showed him what a three-dimensional DNA double helix looked like and explained what I wanted to achieve with dancers.
Using a few plastic dolls as “models,“ we worked together to see what the bodies could do and what they’d look like when attempting to form DNA. He drew according to the plastic doll’s twist, turn and bend and also connected one arm (left) of each to form the “H-bonds” while drawing the right arm to reach up to and connect with the next dancer.

From this point on, I used Ricca’s drawing as a constant reference.
Studying it for hours, observing and learning important details each time I returned to it.
The drawing eventually revealed to me a basic structure, a “section” of six bodies that could be repeated and flipped to develop the DNA image completely.

Using this idea of breaking the image into sections, each composed of three bodies twice i.e. sections of six, I was ready to work it out in my studio with real dancers.
Having worked with and developed a great relationship with hundreds of dancers, I didn’t have any difficulty finding three who were about the same size and shape, but with enough small differences so that it was clear more than one person was participating. The dancers: Emery LeCrone, Alison Clancy and Meredith Hinshaw.
We built a rotated, twisted and bent platform for the three dancers. I needed bodies to be close as well as far from the camera so that I could illustrate depth.
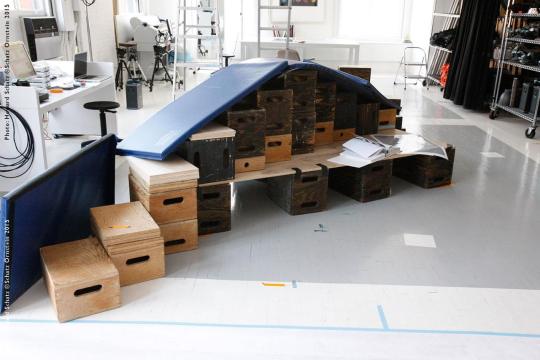
This picture of construction details shows soft blue gym mats supported by
wooden boxes, called “apple boxes” in photography lingo.
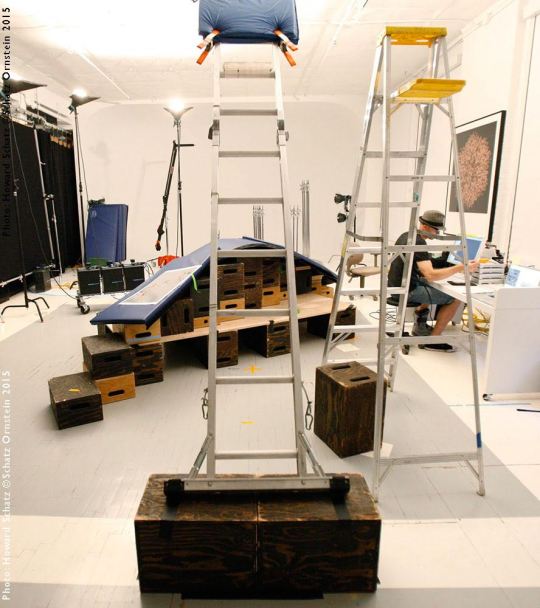
I decided to photograph from above. Here is the suspended ladder I used to hang over the set.
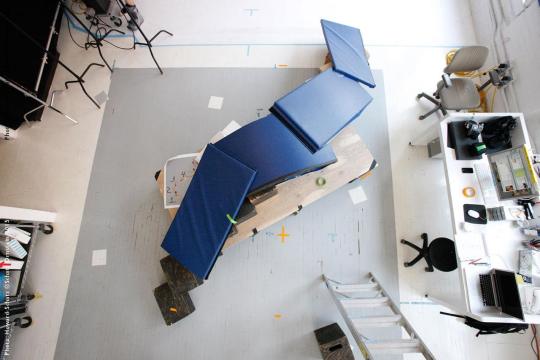
The view from above: twist, turn and bend!
Next question: How to pose the dancers?
Using one dancer at a time, and using the drawing as a reference, I taught each dancer what she needed to do: Bend backwards (i.e. bend the frontal—coronal plane backwards); twist her shoulders to left from her hips (twist the transverse-horizontal plane); and turn over to the left (turn/bend the sagittal plane).
I explained to the dancers that they needed to do these three things exactly the same way at each of the six positions of the six-part section. I photographed each dancer separately in this position so that I would have plenty of options when it was time to connect them to make the sections and build the DNA molecule.
Bend back; twist shoulders to left; turn/bend the left shoulder down to hip.
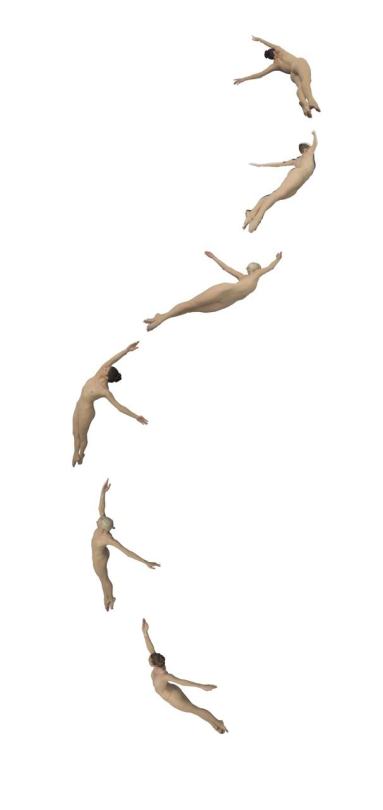

Each of the three dancers learned to do this in every one of the six positions.
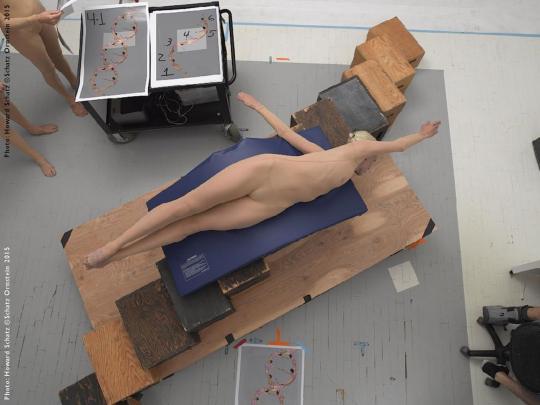
Alison in Position 4.
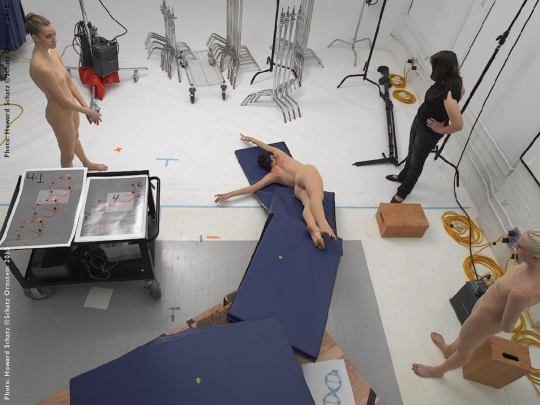
Emery in Position 6.
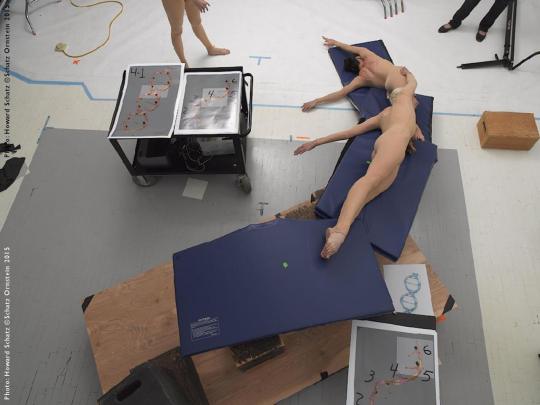
Connecting two dancers to work out details of exactly where the hands
are positioned on the other dancer’s hip.
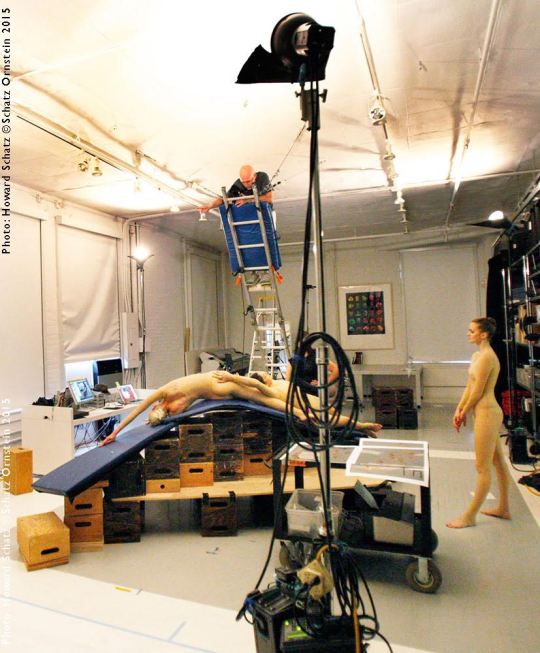
Here I am, directing the dancers from above.
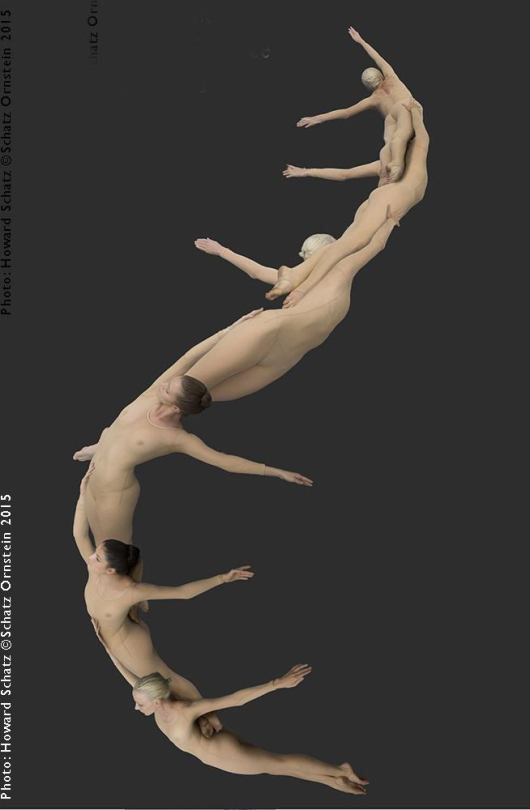
I composed a full section of dancers, working out further details of positioning and the inter-relationship of body parts. Note that the legs of the first and second dancers from the top are obscuring the head of another. I was able to repair that readily by placing #1 under 2 and #2 “under” #3.
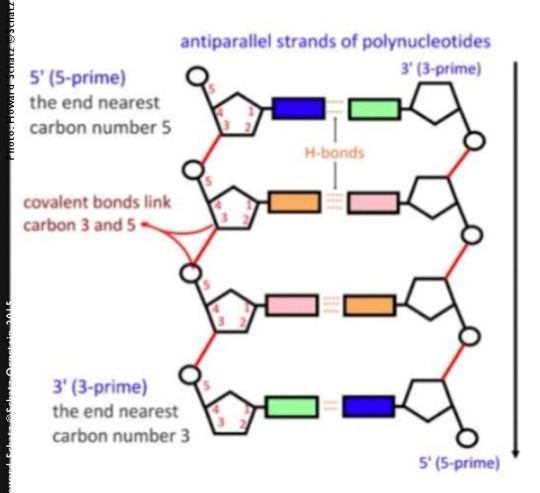
This is a reference image to show how each helix/strand connects with the other: The hydrogen bonds (“H-bonds”) are loose, but still connected.
After constructing each helix with the dancers, and then digitally intertwining them, it was clear that the hydrogen bonds between the base pairs—i.e. where the dancers’ hands were meant to join–just didn’t work.
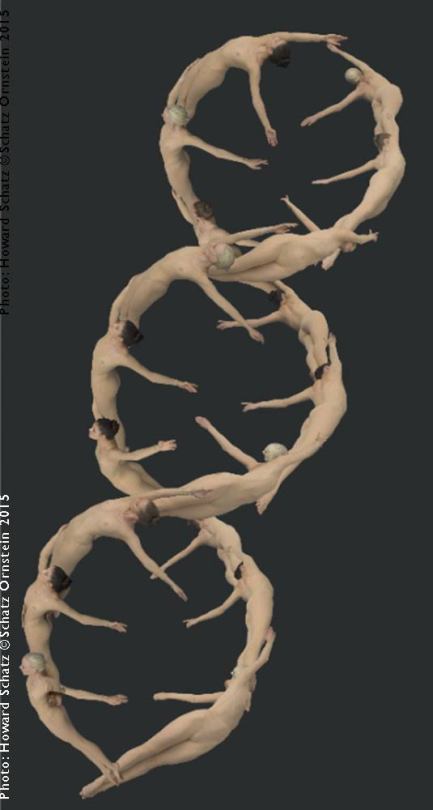
I was ready for THAT!
I had photographed every connection—every “hydrogen bond” – from every point of view. I had each dancer make a fist with her left and and simply touch the left fist with another dancer. (Since the actual H-bonds are loose, I didn’t want their fingers to interlock.)
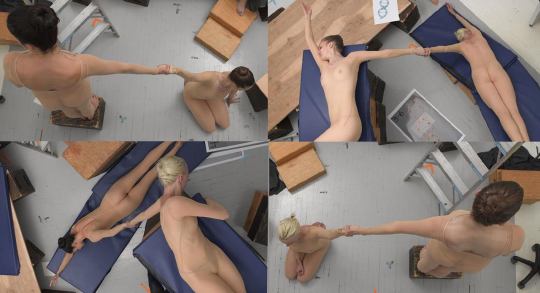
I was able to connect the two helices in this way:
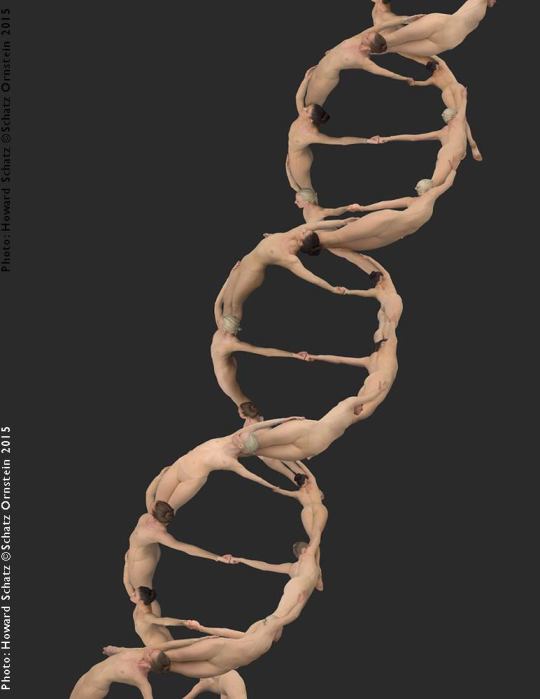
There were other details to work out, of course. Note the dangling legs here and there; I worked on that to get the knees bent just right to fix the “helix.“
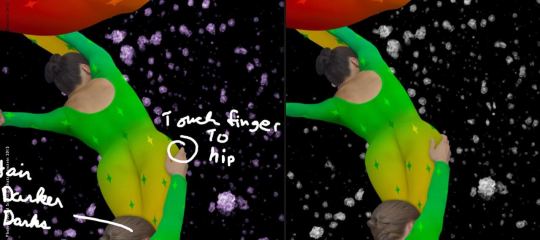
Here is one “fix” (the fingers needed to form around the hip just right).
My next challenge was to create a visually arresting “look.”
I designed the costumes in Photoshop and overlaid hundreds of colors and patterns on the dancers’ unitards.

Three on Left: I tried various colors; Second from right: I added patterns;
Right: I photographed stars from a clear Connecticut country night.

Eventually I decided on this final version, using green and gold for one helix and warm red and yellow for the other, with stars in the costume as well as background.
I felt this expresses the mystery and majesty of this magnificent molecule.
Glitterati Incorporated, the publisher of the Retrospective, Schatz Images: 25 Years is now offering the two- book boxed set at a discount from the original price. The set comes with an 11″x14” print of the buyer’s choice.
http://schatzimages25years-glitterati.com